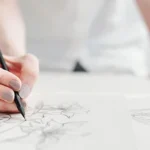
Learning how to draw is an exciting journey that allows you to express creativity and communicate visually.
Whether you aspire to become a professional artist or simply want to enjoy a relaxing hobby, mastering basic drawing techniques is essential.
In this comprehensive guide, we will walk you through essential techniques, practical tips, and step-by-step instructions to help you become a confident and skilled artist.
Understanding Basic Drawing Supplies
Before diving into drawing techniques, it is crucial to familiarize yourself with essential drawing tools.
Essential Drawing Tools
| Tool | Description | Recommended Usage |
|---|---|---|
| Pencils | Graphite pencils range from hard (H) to soft (B). | Use H pencils for light sketches and B pencils for shading. |
| Erasers | Kneaded and vinyl erasers. | Kneaded erasers for gentle corrections and vinyl erasers for precise erasing. |
| Paper | Sketchbooks or high-quality drawing paper. | Choose smooth paper for detailed work and textured paper for shading effects. |
| Sharpener | Handheld or mechanical sharpener. | Keeps pencils sharp for precision drawing. |
| Blending Tools | Blending stumps and tissue paper. | For smooth shading transitions. |
| Colored Pencils | Available in a wide range of colors. | For adding vibrant hues to drawings. |
| Charcoal | Comes in stick or pencil form. | Ideal for bold, dramatic sketches and deep shading. |
Tip: Invest in quality supplies to achieve better results and a more enjoyable drawing experience.
Mastering Basic Drawing Techniques
To build a strong foundation, focus on mastering these fundamental drawing techniques:
Contour Drawing
Contour drawing involves outlining the edges of objects without shading.
- Start with simple shapes.
- Keep your eyes on the object rather than the paper.
- Practice continuous line drawings to improve hand-eye coordination.
- Try blind contour drawing to challenge your perception skills.
Hatching and Cross-Hatching
These techniques are used to create texture and shading.
- Hatching: Draw parallel lines to indicate shading.
- Cross-Hatching: Add intersecting lines over hatching to deepen the shading.
- Tip: Experiment with line spacing and direction to create various effects.
Stippling
Stippling uses tiny dots to create shading and texture.
- Increase the density of dots for darker areas.
- Use lighter dot patterns for highlights.
- Practice stippling gradients to improve control over density.
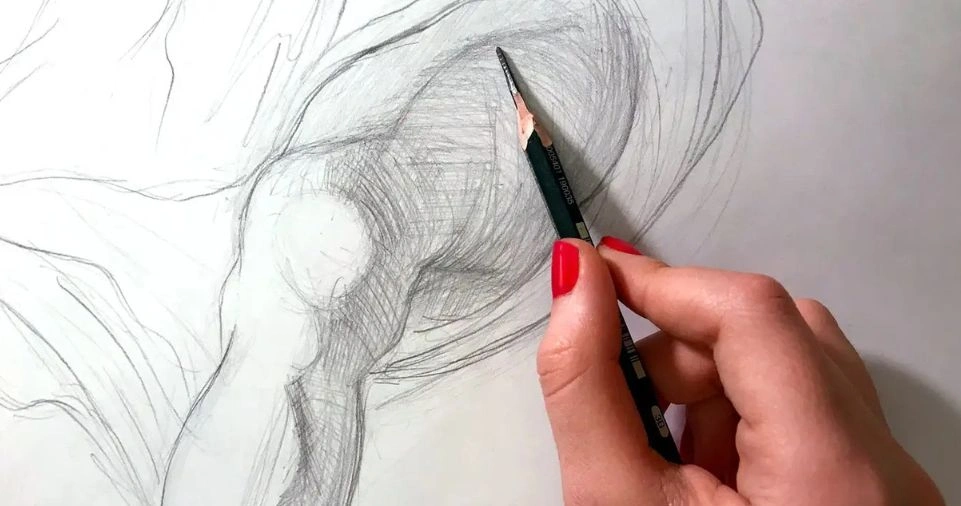
Blending
Blending smooths out pencil strokes for a seamless look.
- Use blending stumps, tissue, or your finger.
- Blend gently to avoid over-smudging.
- Combine blending with hatching for dynamic shading effects.
Gradient Shading
Gradient shading creates a smooth transition between light and dark tones.
- Practice gradual pressure changes while shading.
- Use a blending tool to achieve smoother results.
- Create gradient spheres and cubes to practice light transitions.
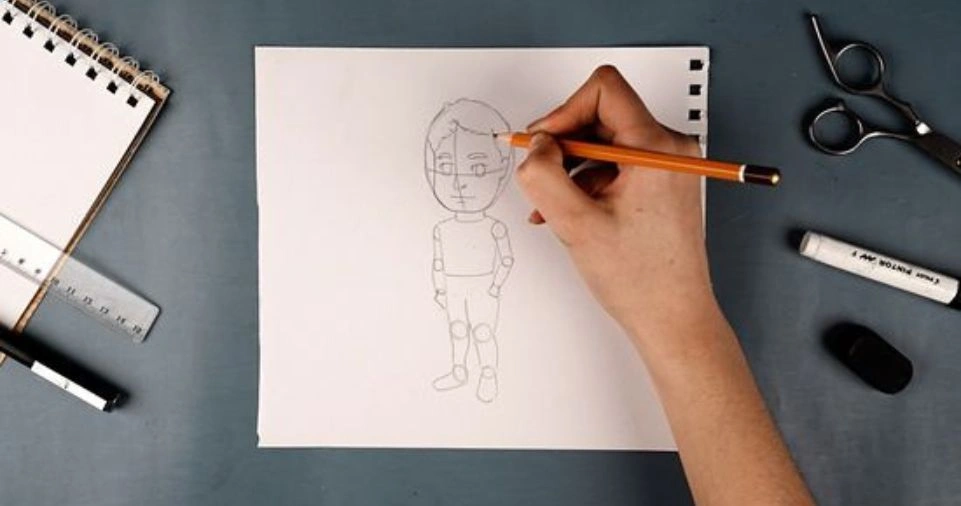
Gesture Drawing
Gesture drawing captures the basic movement and form of a subject.
- Focus on quick, loose sketches.
- Use bold, confident strokes.
- Incorporate dynamic poses to develop a sense of movement.
Negative Space Drawing
Negative space drawing involves sketching the space around an object.
- Focus on the shapes created by the gaps around the subject.
- This technique enhances composition skills.
Scribbling Technique
Scribbling is a loose, energetic technique that can add texture and movement.
- Use rapid, random strokes.
- Layer scribbles for depth.
Step-by-Step Practice Exercises
Exercise 1: Contour Drawing Practice
- Select a simple object, such as a coffee mug.
- Draw its outline without lifting your pencil from the paper.
- Avoid focusing on details; instead, capture the overall shape.
Exercise 2: Shading with Hatching and Cross-Hatching
- Draw a simple geometric shape, like a cube.
- Practice shading one side with parallel lines.
- Add cross-hatching to create depth.
Exercise 3: Stippling Practice
- Draw a circle.
- Use dots to fill in the shape, increasing density toward one side to create shading.
Exercise 4: Blending a Gradient
- Draw a rectangle.
- Shade from dark to light, blending with a tissue or blending stump.
Exercise 5: Gesture Drawing
- Set a timer for 30 seconds.
- Quickly sketch a figure or object without worrying about details.
Exercise 6: Negative Space Drawing Practice
- Choose a chair with intricate patterns.
- Draw the spaces between the chair’s parts.
Exercise 7: Scribbling Texture Practice
- Sketch a landscape scene.
- Use scribbling to depict textures like grass and tree bark.
Tips for Improving Your Drawing Skills
| Tip | Description |
|---|---|
| Practice Regularly | Dedicate at least 15 minutes daily to drawing exercises. |
| Draw from Observation | Sketch objects from real life to improve accuracy. |
| Use References | Study photos and artwork to understand proportions and techniques. |
| Experiment with Techniques | Try different shading and line techniques to find your style. |
| Seek Feedback | Share your work with other artists or online communities for constructive feedback. |
| Keep a Sketchbook | Document your progress and ideas. |
| Try Different Mediums | Experiment with charcoal, ink, and colored pencils. |
| Attend Art Workshops | Learn from professional artists and gain new insights. |
Additional Resources:
- Online drawing courses
- Art books and tutorials
- Social media platforms for artist inspiration
- YouTube channels dedicated to drawing
ALSO READ: One Punch Man Manga: A Unique Blend of Humor, Action, and Satire
Understanding Proportions and Perspectives
Proportions
Getting proportions right is key to realistic drawings.
- Rule of Thirds: Divide your subject into thirds for better composition.
- Measuring: Use your pencil to measure and compare lengths.
- Tip: Sketch a light grid on your paper to maintain proportions.
Perspective Drawing
Perspective adds depth to your drawings.
- One-Point Perspective: All lines converge at a single point on the horizon.
- Two-Point Perspective: Lines converge at two points on the horizon.
- Three-Point Perspective: Adds a third vanishing point for dramatic angles.
- Isometric Perspective: Parallel lines remain equidistant, ideal for technical drawings.
Exercise:
- Draw a simple cityscape using one-point perspective.
- Practice adding depth and dimension.
- Challenge yourself with two-point perspective for complex structures.
Developing Your Unique Style
Exploring Different Art Styles:
- Realism
- Abstract
- Cartooning
- Sketch art
- Surrealism
- Pop Art
- Minimalism
Experiment with various styles to discover what resonates with you.
Tips for Finding Your Style:
- Analyze your favorite artists’ work.
- Mix and match techniques.
- Focus on what themes or subjects you enjoy drawing.
Creating a Drawing Routine

| Time | Activity |
|---|---|
| 5 minutes | Warm-up sketches |
| 10 minutes | Focused drawing exercise |
| 10 minutes | Shading practice |
| 5 minutes | Review and self-critique |
Bonus Tips for Staying Motivated:
- Join online challenges (like Inktober).
- Set personal goals (e.g., complete one drawing per week).
- Celebrate your progress by reviewing old sketches.
- Create themed projects to keep your interest alive.
Sample Weekly Drawing Plan:
| Day | Focus Area |
|---|---|
| Monday | Contour Drawing |
| Tuesday | Shading Techniques |
| Wednesday | Gesture Drawing |
| Thursday | Perspective Exercises |
| Friday | Creative Style Exploration |
| Saturday | Free Drawing Session |
| Sunday | Review and Sketchbook Update |
ALSO READ: Academy Genius Swordsman Manga Chapter 10: A Thrilling Dive into Action and Mystery
Conclusion
Mastering basic drawing techniques requires patience, practice, and a willingness to learn. By following the techniques and exercises outlined in this guide, you’ll develop essential skills and build confidence in your artistic journey.
Remember to have fun, stay curious, and let your creativity shine. As you continue to practice and explore different styles, your unique artistic voice will naturally emerge. Happy drawing!